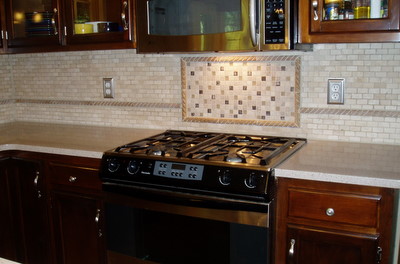
I replaced the backsplash for Mike and Sandy.
I replaced the backsplash for Mike and Sandy. |
|
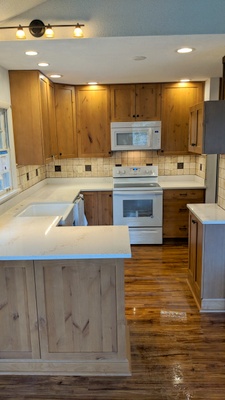
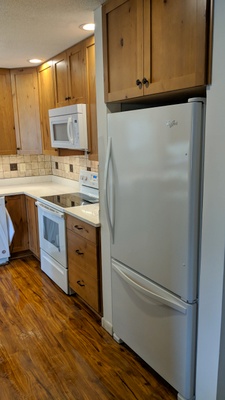
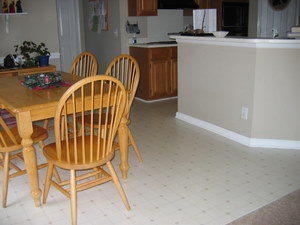
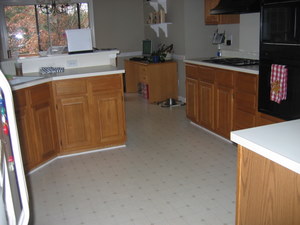
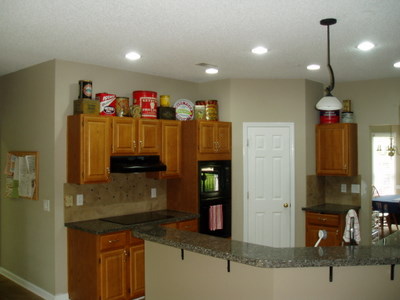
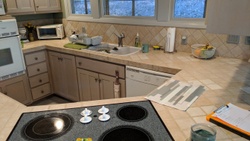
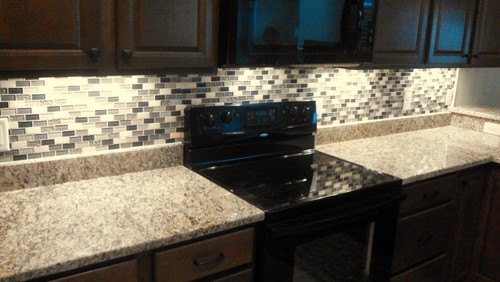
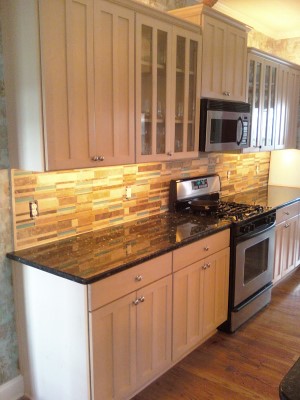
I ripped out the old kitchen and flooring for Jack. I installed laminate flooring, the backsplash and appliances. | 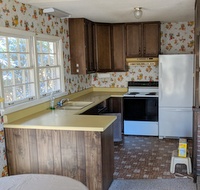
|
The refrigerator is now recessed into a closet space. | 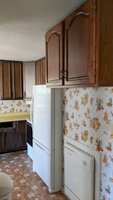
|
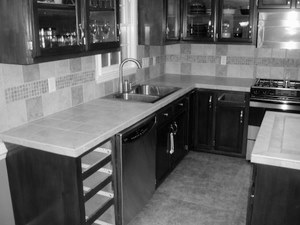
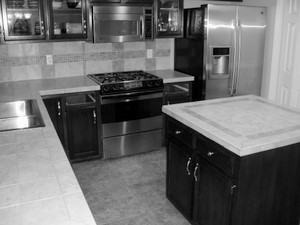
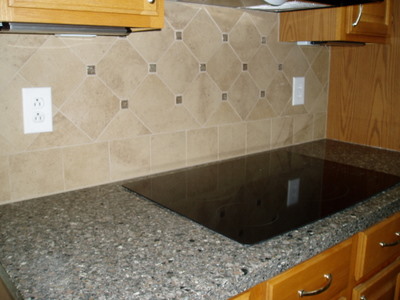
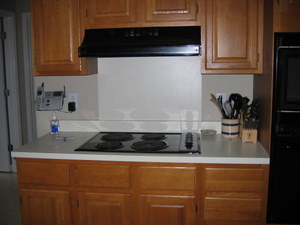
I tiled the backsplash and replaced the tile floor for Roger. | 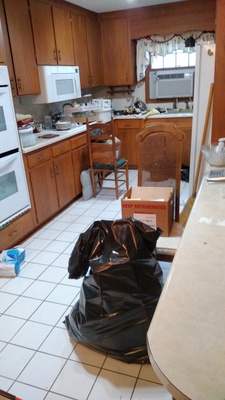
|
I tiled Myra's backsplash. | 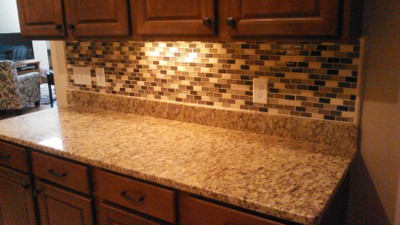
|
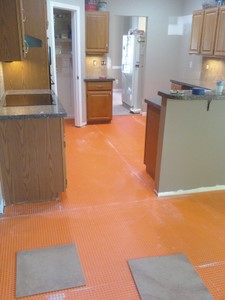
For Chelsie's kitchen, I started with the tile floor. |

I installed all the cabinets then did the tile backsplash. |
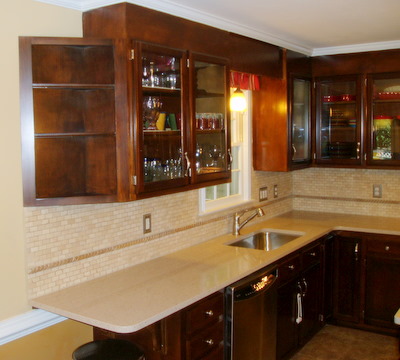 |
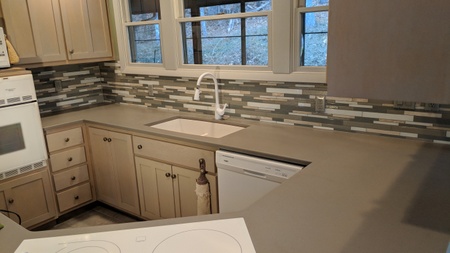
Homeowners Derek and Samantha had tiled the backsplash and countertops years earlier. I took all the tile out in advance of the countertop installation by Lowe's. The new countertop extended 16 inches farther than before, and I built a corner cabinet to match (see upper left). | |
 |
In addition to tiling the backsplash, I did the plumbing for the new sink and replaced four light fixtures. |
 |
For Steve and Eve, I removed their old tile backsplash, put in new drywall and installed this fancy tile. |
| &#nbsp; | |
 |
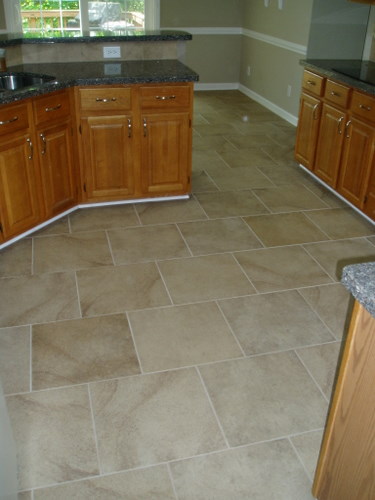
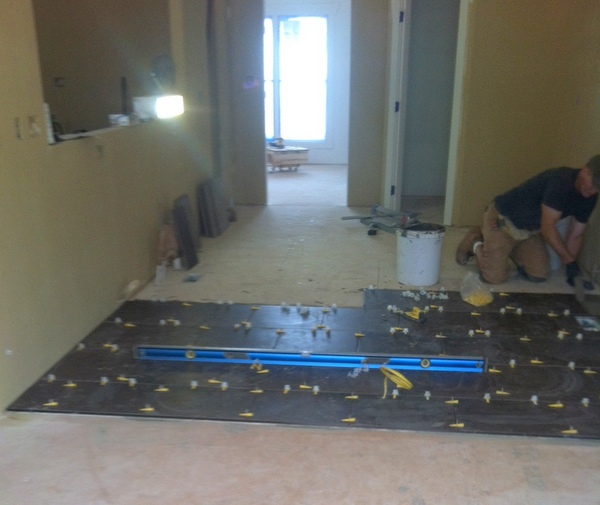
For Fran and Laura, I installed approximately 400 square feet of 18x18 porcelain tile in a brick pattern, replacing their vinyl flooring. |
|
|
The homeowners had new granite countertops installed, and an electrican wired in the new under-cabinet lighting. I did the backsplash. |
|
|
I replaced the patio door (with some lifting help from the homeowners!) and did repair work to the rotting floor joists and subfloor. |
|
I replaced the central fluorescent light with
six cannister lights, |
I use Schluter Ditra as an underlayment. It's a decoupling membrane that is waterproof and easy to install. |
 |
Sure, the temperatures were in the 70s for weeks before and after this day, but the day we put in the doors it was in the 40s. In the background you can see the other patio door we would replace that day, in addition to the kitchen window. |
 |
This is the closest thing I have to a before picture. The upper cabinets have been removed, in addition to the ugly linoleum and worn carpeting. We discovered the furnace vent at the right when we removed the pantry cabinet. I always wondered why that cabinet was only half as deep as it could have been. |
 |
James removing the countertops. Compare the window here to the one in the above picture. The new one opens without causing a hernia. |
 |
With the counters removed, we put in a new three-eighths-inch plywood subfloor for the tile. Bambi smiled for the camera. |
 |
The tile went in nicely. |
|
James
and the women worked on wallpaper all day as I bought all the new appliances.
Note the nice new ceiling.
|
 |
|
The
cabinet installation was next. You can see at the right how we had a temporary
kitchen in the dining room.
|
 |
 |
The cabinets were all in, and I installed the countertops. Here, I am mounting the garbage disposal to the sink. Soon I would put on the faucet and drains and hook it up, ending our sinkless week. |
 |
This was the mess that was our temporary kitchen. Imagine everything covered with dust. And washing dishes in a bucket. Or trying to find anything. |
|
With
the cabinet doors in and our new appliances in place, I started work on
the pantry cabinet. I built a box around the vent pipe and cut each of
the sliding shelves to fit around the box.
|
 |
| I installed under-cabinet lighting and put in a tile backsplash. |
 |
| The completed kitchen! |  |